How to Create an Art Kit
You can create your own personal library of favorite elements by creating an Art Kit to contain them. You can save free art, art that you personally created, or individual elements saved from your projects or created elsewhere. Artisan supports all major image file formats, but they must be stored in an Art Kit.
- Open Content Manager.
-
Click
 on the Content Manager Ribbon
 -
Click Create Personal Art Kit.

- Type the desired name of the personal Art Kit, and click OK.

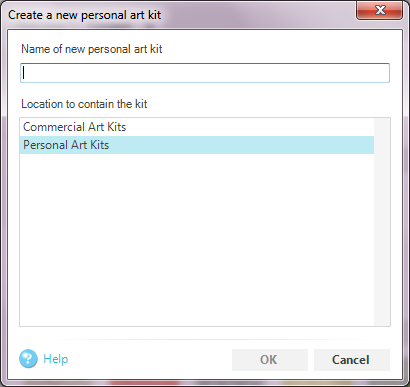
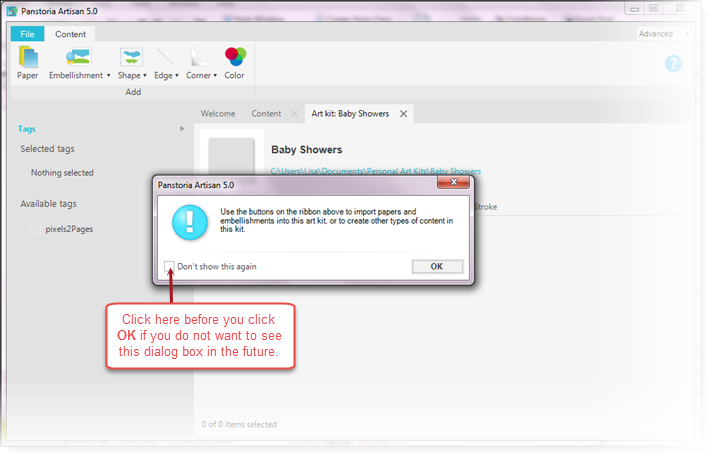
- Click OK to accept the instruction dialog box.
Note: Once the Art Kit is created, Artisan opens the kit and you can start adding elements to it right from this window. If you want to add elements later, you can do so by editing the art kit.
How to Add Elements to Your Art Kit
The following elements can be added right from your Art Kit window:
|
Element |
Description |
|---|---|

|
Import an image (Artisan supports all major image file types like .jpg, .png, .bmp, etc.) to be used as a paper. |
|
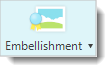
Import an image (Artisan supports all major image file types like .jpg, .png, .bmp, etc.) to be used as an embellishment. |

|
Insert a new shape by creating it from scratch in the Shape Editor. Or import an existing shape (in .pash or .shape format). |

|
Insert a new edge by creating it from scratch in the Shape Editor. Or import an existing edge (in .pash or .shape format). |

|
Insert a new shape by creating it from scratch in the Shape Editor. Or import an existing corner (in .pash or .shape format). |

|
Use the Color Picker to create a color. |
Add a Paper
-
Click
 on the Content Manager Ribbonof the Personal Art Kit window.
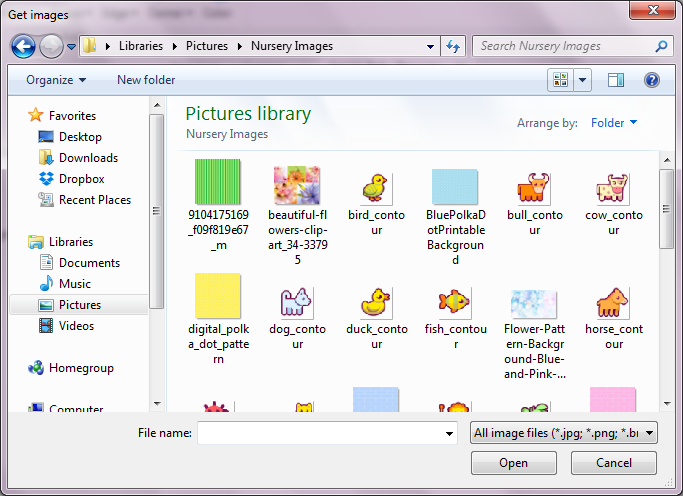
- Navigate to the desired image in the Get Images dialog box, and click Open.
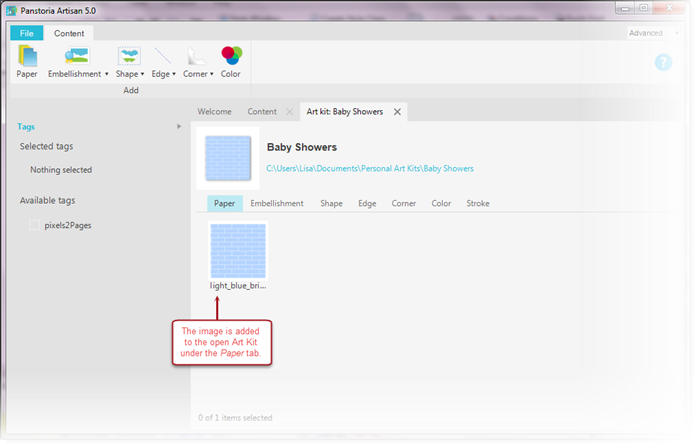
Note: You can repeat these steps to add as many papers as you like to your Art Kit. You can also multi-select using the [CTRL] (non-contiguous) or [SHIFT] (contiguous) keys to insert multiple images at once.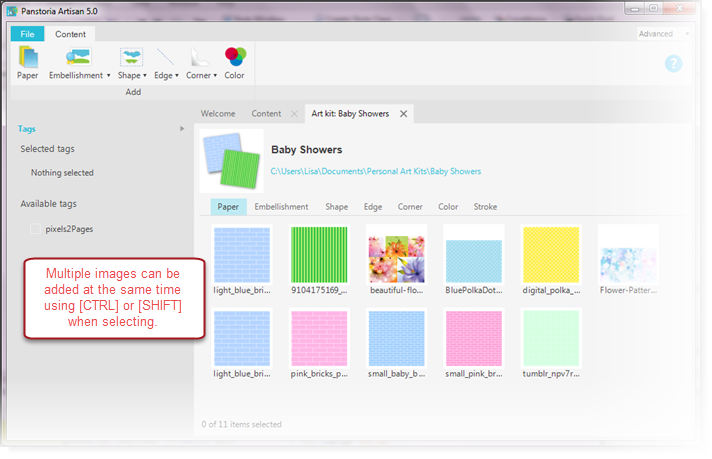
Add an Embellishment
-
Click
 on the Content Manager Ribbonof the Personal Art Kit window.
- Navigate to the desired image in the Get Images dialog box, and click Open.

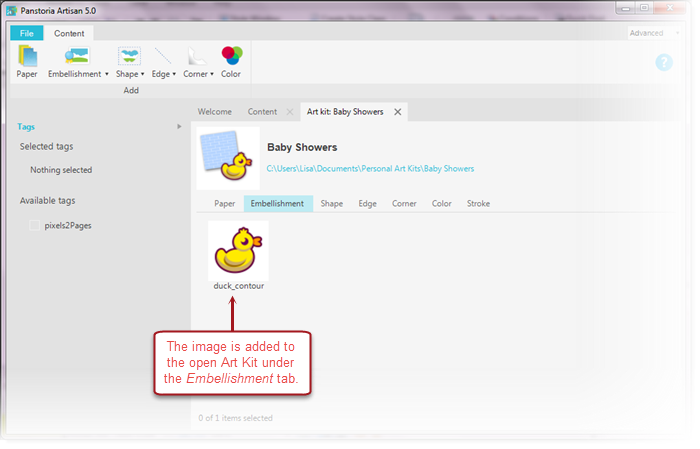
Note: You can repeat these steps to add as many embellishments as you like to your Art Kit. You can also multi-select using the [CTRL] (non-contiguous) or [SHIFT] (contiguous) keys to insert multiple images at once.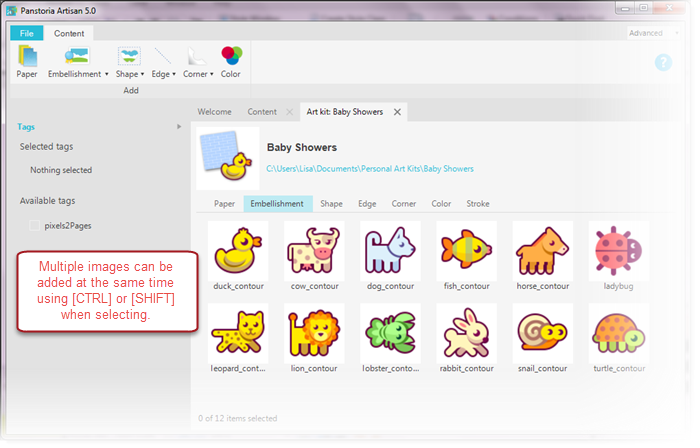
Create an Element from Scratch
You can create elements from shapes, edges, corners, and colors that you create right in your project. These elements have special properties in Artisan, and are stored with specific file formats. Therefore, they can be created within Artisan with the Shape Editor. This allows you to have a genius moment that you can recreate in future projects!
See Working with Shapes for more information.